
Key Takeaways
Encountering the “Ethernet does not have a legitimate IP configuration” error signifies that your router has did not assign an IP tackle to your PC.
To resolve this error, you must discharge any static cost, reset the TCP/IP Stack and Winsock Catalog, and set your IP project settings to Automated (DHCP).
If the problem persists, launch and renew your IP tackle, flush the DNS cache, reinstall the ethernet driver, flip off any proxy server over LAN, and quickly flip off antivirus software program.
Have you ever run the community troubleshooter to diagnose an issue together with your ethernet connection, and it confirmed the error “Ethernet does not have a legitimate IP configuration”? In that case, your router has did not assign an IP tackle to your PC by way of DHCP. Listed below are some potential options you possibly can attempt to resolve this situation.
1. Carry out Some Preliminary Checks
Start troubleshooting by performing some fundamental checks. First, restart your laptop. Then, disconnect the Ethernet cable out of your laptop and router and reconnect it. Guarantee that the ethernet cable isn’t broken. Additionally, join the ethernet cable to completely different ports in your router and laptop to rule out any port points. After that, reboot your router (or reset it).
If these fundamental checks fail to determine the main reason for the error, you possibly can proceed to use the remaining fixes listed under.
2. Discharge Static Cost
The presence of static cost in your laptop may cause unexpected errors. It may additionally probably have an effect on your ethernet connection. So, discharge it to rule out this risk. To take action, shut down your laptop, disconnect any exterior units, and take away the facility cables. Then, maintain the facility button for 15-20 seconds to discharge the static cost.
Following that, reconnect the facility cables and restart your PC. Run the troubleshooter as soon as once more, and if the errors persist, apply the subsequent repair.
3. Reset TCP/IP Stack and Winsock Catalog
Winsock is an API utilized by community functions to entry community companies like TCP/IP, and it shops its data in a database referred to as the Winsock Catalog. Resetting this catalog and TCP/IP Stack usually resolves network-related points. To carry out this reset by way of Command Immediate, you possibly can observe these steps:
Open the Home windows Search and kind “Command Immediate.” Proper-click on Command Immediate and choose Run as administrator. To reset the Winsock catalog, kind “netsh winsock reset” and press Enter. Permit Home windows to reset it; you will see the message “efficiently reset the Winsock Catalog” or “Winsock reset accomplished efficiently” as soon as it is completed.

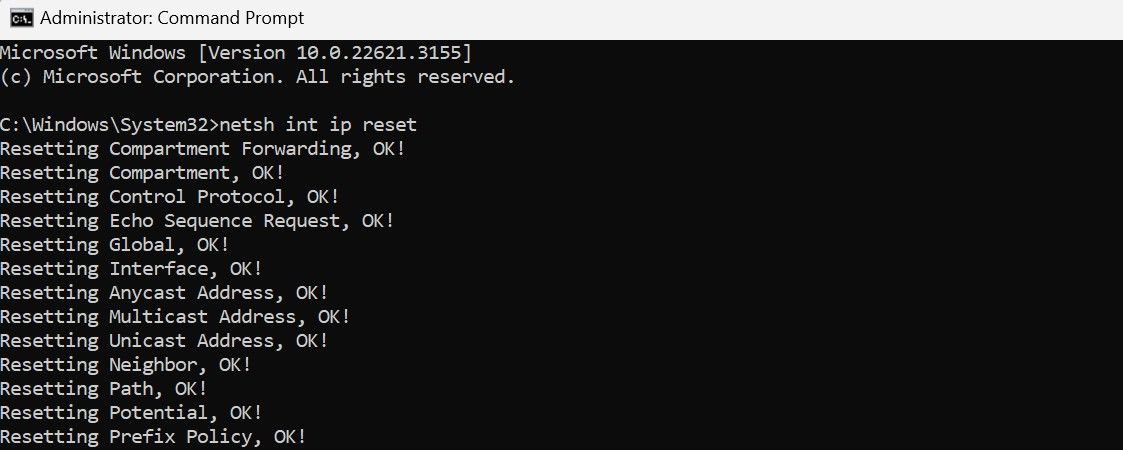
To reset the TCP/IP stack, kind “netsh int ip reset” and press Enter. Look ahead to the method to finish, then restart your laptop to use these adjustments.
4. Configure IPv4 to Receive IP Handle Robotically
Should you’ve manually configured your IP tackle, take into account setting it to be assigned routinely by your router or one other entry level. To do that, observe these steps: Proper-click the Begin button and choose Settings. Then, navigate to Community & web within the left-sidebar and open Ethernet settings.
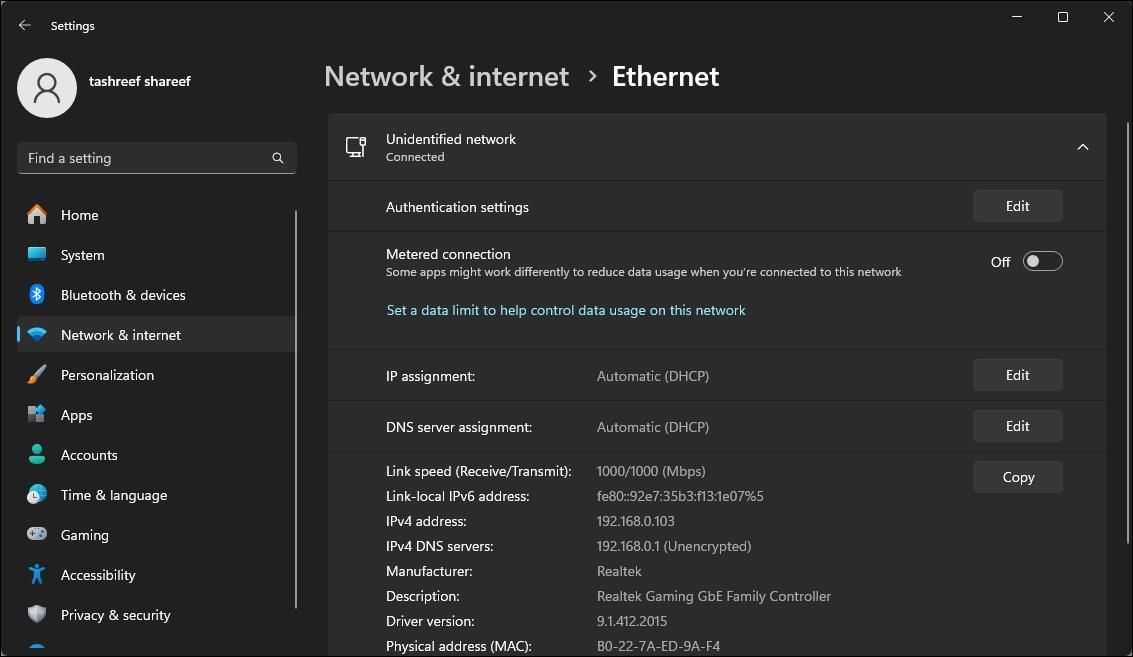
Inside the community properties, click on the Edit button subsequent to IP project and choose Automated (DHCP) from the dropdown menu. Lastly, click on Save to use the adjustments.
5. Launch and Renew Your IP Handle
Refreshing your web connection by releasing and renewing your IP tackle can resolve IP conflicts and different community points. Releasing your IP tackle frees it out of your router, whereas renewing assigns your gadget the identical or a distinct IP tackle, which resolves most IP address-related errors.
To launch and renew your IP tackle, observe these steps:
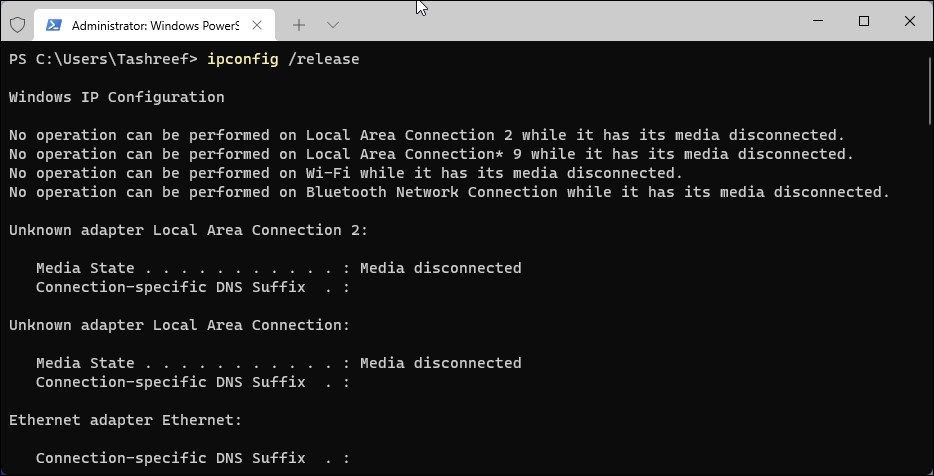
Open Command Immediate as an administrator as beforehand instructed. Kind “ipconfig /launch” and press Enter. It will disconnect your gadget from the web.
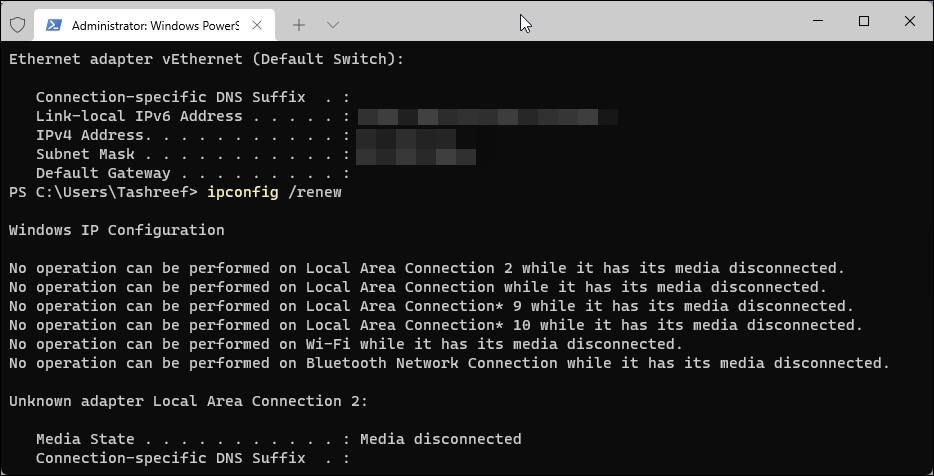
Then, kind “ipconfig /renew” and press Enter. It will reconnect you again to the web.
6. Flush the DNS Cache
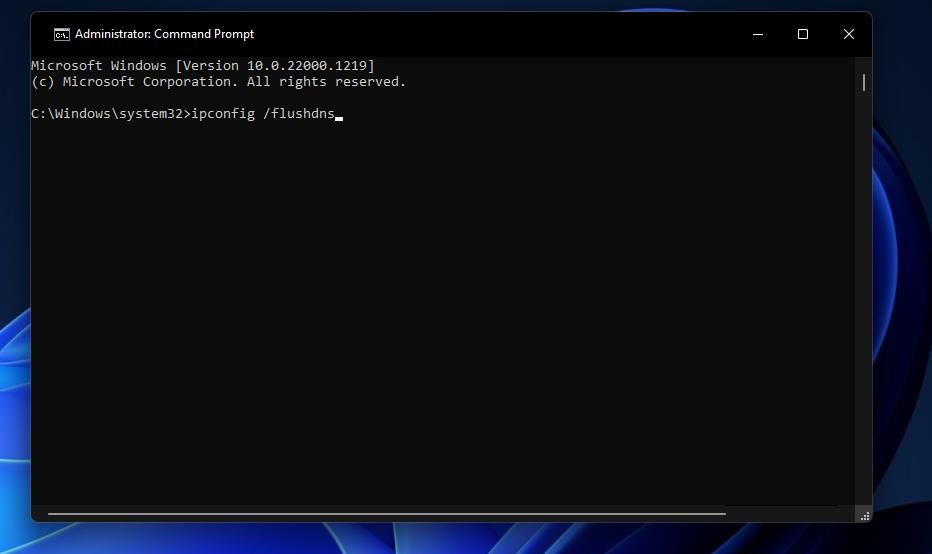
Flushing the DNS clears DNS data out of your cache and prompts your gadget to retrieve the data from the DNS once more. This usually resolves network-related points. To flush the DNS cache in your Home windows PC, open the Command Immediate app as an administrator, kind within the following command, and press Enter:
ipconfig /flushdns
As soon as you have flushed the DNS cache, restart your laptop. Then, run the troubleshooter if the ethernet connection nonetheless is not working. If the problem persists, proceed to use the subsequent repair.
7. Reinstall the Ethernet Driver
A corrupted ethernet driver may additionally trigger the error. To eradicate this risk, uninstall and reinstall the ethernet driver from scratch. Earlier than doing that, guarantee you’ve a replica of the ethernet driver. If you do not have one, you possibly can join your PC to Wi-Fi to obtain it or obtain it onto one other gadget and switch it to your PC by way of a USB drive.
After getting the driving force file, observe these steps:
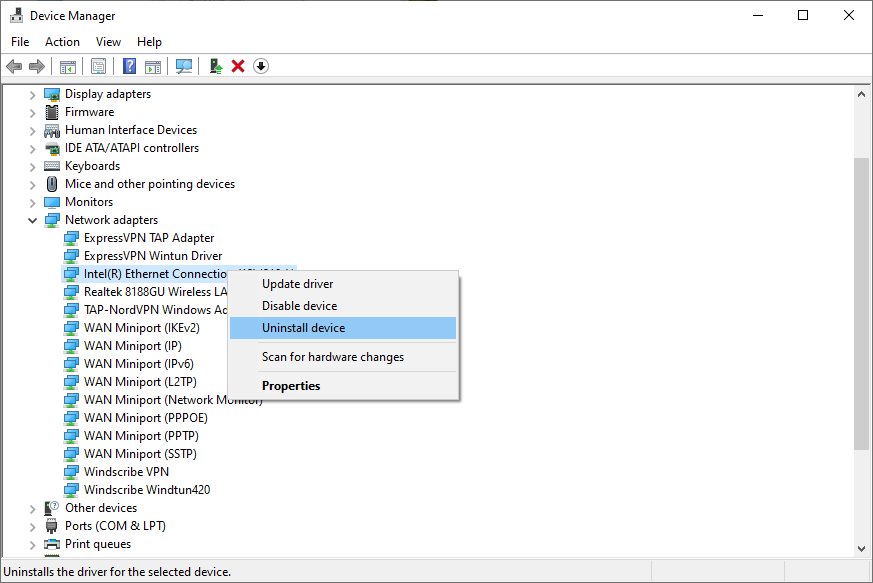
Proper-click on the Begin button and choose Gadget Supervisor. Then, increase the Community adapters class. Proper-click on the ethernet driver file and choose Uninstall gadget.
Then, run the driving force file you downloaded earlier and observe the on-screen directions to put in it. If the problem persists after reinstalling the driving force, flip off the proxy server.
8. Disable Proxy Server Over LAN
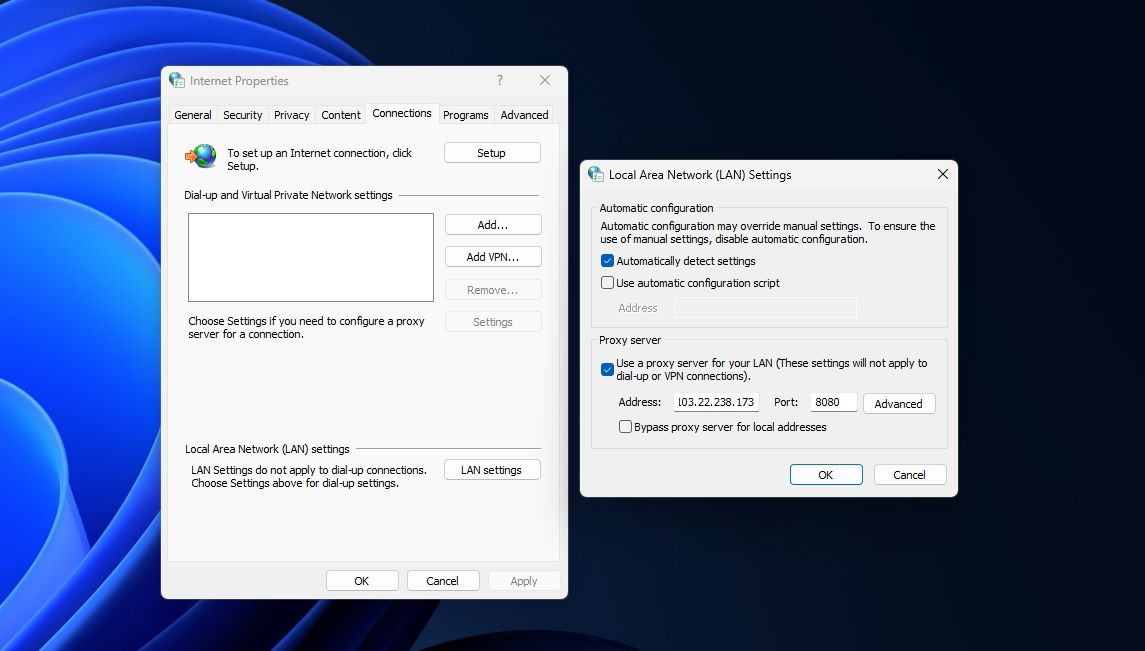
Configuring a proxy server over a LAN may intrude together with your router’s capacity to assign an IP tackle to your PC. So, be sure that the proxy server is not enabled, and disable it whether it is presently enabled. To take action, observe these steps:
Kind “Web Choices” within the Home windows Search bar and open it. Then, navigate to the Connections tab and click on the LAN settings button. If the field beside Use a proxy server in your LAN is checked, uncheck it to show off the proxy server. Lastly, click on Apply after which OK to use the adjustments you made.
9. Briefly Disable Antivirus Safety
Interference from Home windows Defender or third-party antivirus software program may probably trigger the error in query. To rule out this risk, quickly flip off your safety suite. Briefly disable Home windows Safety on Home windows 11 or Home windows 10. Should you use a third-party antivirus software program, flip it off or quickly uninstall it.
If turning off the antivirus safety does not resolve the issue, your ultimate possibility must be to contact your Web Service Supplier (ISP).
Should you’ve been unable to determine the foundation reason for the issue regardless of making use of the above fixes, there may very well be a {hardware} situation together with your router that you could be not have the ability to resolve independently. So, contact a consultant out of your Web Service Supplier (ISP) and request their help in investigating the problem additional.
Hopefully, the above options will assist you to diagnose the issue and efficiently reconnect your PC to the web by way of ethernet. If nothing works, help out of your ISP will rescue you.


